We recently decided that we wanted to try making our own sugar-free jam and wanted to try using stevia as well.
After listening to the book The Case Against Sugar by Gary Taubes we decided that we need to drastically reduce the amount of sugar that we eat in our home. While this hasn't been too bad for Joanna and I, it is harder for our kids. We wanted something for the kids to put on their sandwiches, pancakes and similar things and so had been buying sugar-free jams from our local grocery store. But these were expensive. We checked in speciality stores as well as online and couldn't find anything cheaper.
Since we've made freezer jam in the past we thought we'd try the same with sugar-free jam. We bought a box of peaches, since they were on sale at our local Sprout's Market and about 7 boxes of pectin (Sure Jell No Sugar Pectin, 1.75 oz (Pack of 2) ).
).

Now a note here about the jam, it isn't actually sugar-free since there is sugar in the peaches, so to be accurate I should call it no-sugar-added jam, but that is a mouth full. Also cooked jam is typically bottled, but we didn't want to deal with that and thought our family would use it up fast enough that we could get away with freezing it.
In any case the pectin includes recipes for multiple types of jams with different fruits and different amounts of sugar (full to low), both of which don't need to be cooked and the no-sugar-added recipe, but the no sugar added recipe has to be cooked. (I don't actually know why that's just what the recipe said). So we decided to use that, but the recipe called for an artificial sweetner that we didn't have or use, instead we wanted to use stevia.
So back to the internet to see if anyone had a jam recipe that used stevia, and we didn't find anything, so we decided to experiment a bit ourselves. A full-sugar peach jam recipe calls for approximately equal parts fruit to sugar, while the no-sugar-added recipe called for a 1/2 cup of artificial sweetner to every 3 cups of peaches. We were using a blended stevia (something like this Truvia Baking Blend Natural Sweetener 24 OZ(Pack Of 2) ) meant to be substituted in about equal parts to sugar. But we wanted to cut down on the sweetness and the slight aftertaste of stevia and went with half of what the full-sugar version would be.
For every box of pectin your will need:
We started out with a test batch to make sure it would work. We washed and quartered the peaches, then used an immersion blender (like this one KitchenAid KHB1231 2-Speed Hand Blender Empire Red Electric Mixer ) to puree them. If you like some chunks of peaches in your jam you can add in some peach quarters at the end and just blend those slightly.
Add the peach puree and box of pectin to a pot, mix the pectin in well, and bring the mixture to a rolling boil (it should keep boiling hard even when you stir; also be careful because this hurts when it splashes on you). Let it boil while you stir for one minute. After one minute remove the pot from heat and mix in the stevia. We found that it didn't mix in as well as sugar and we had to whisk it pretty good to mix it in (a non-baking blend may work better and would require less stevia, let us know if you try this).
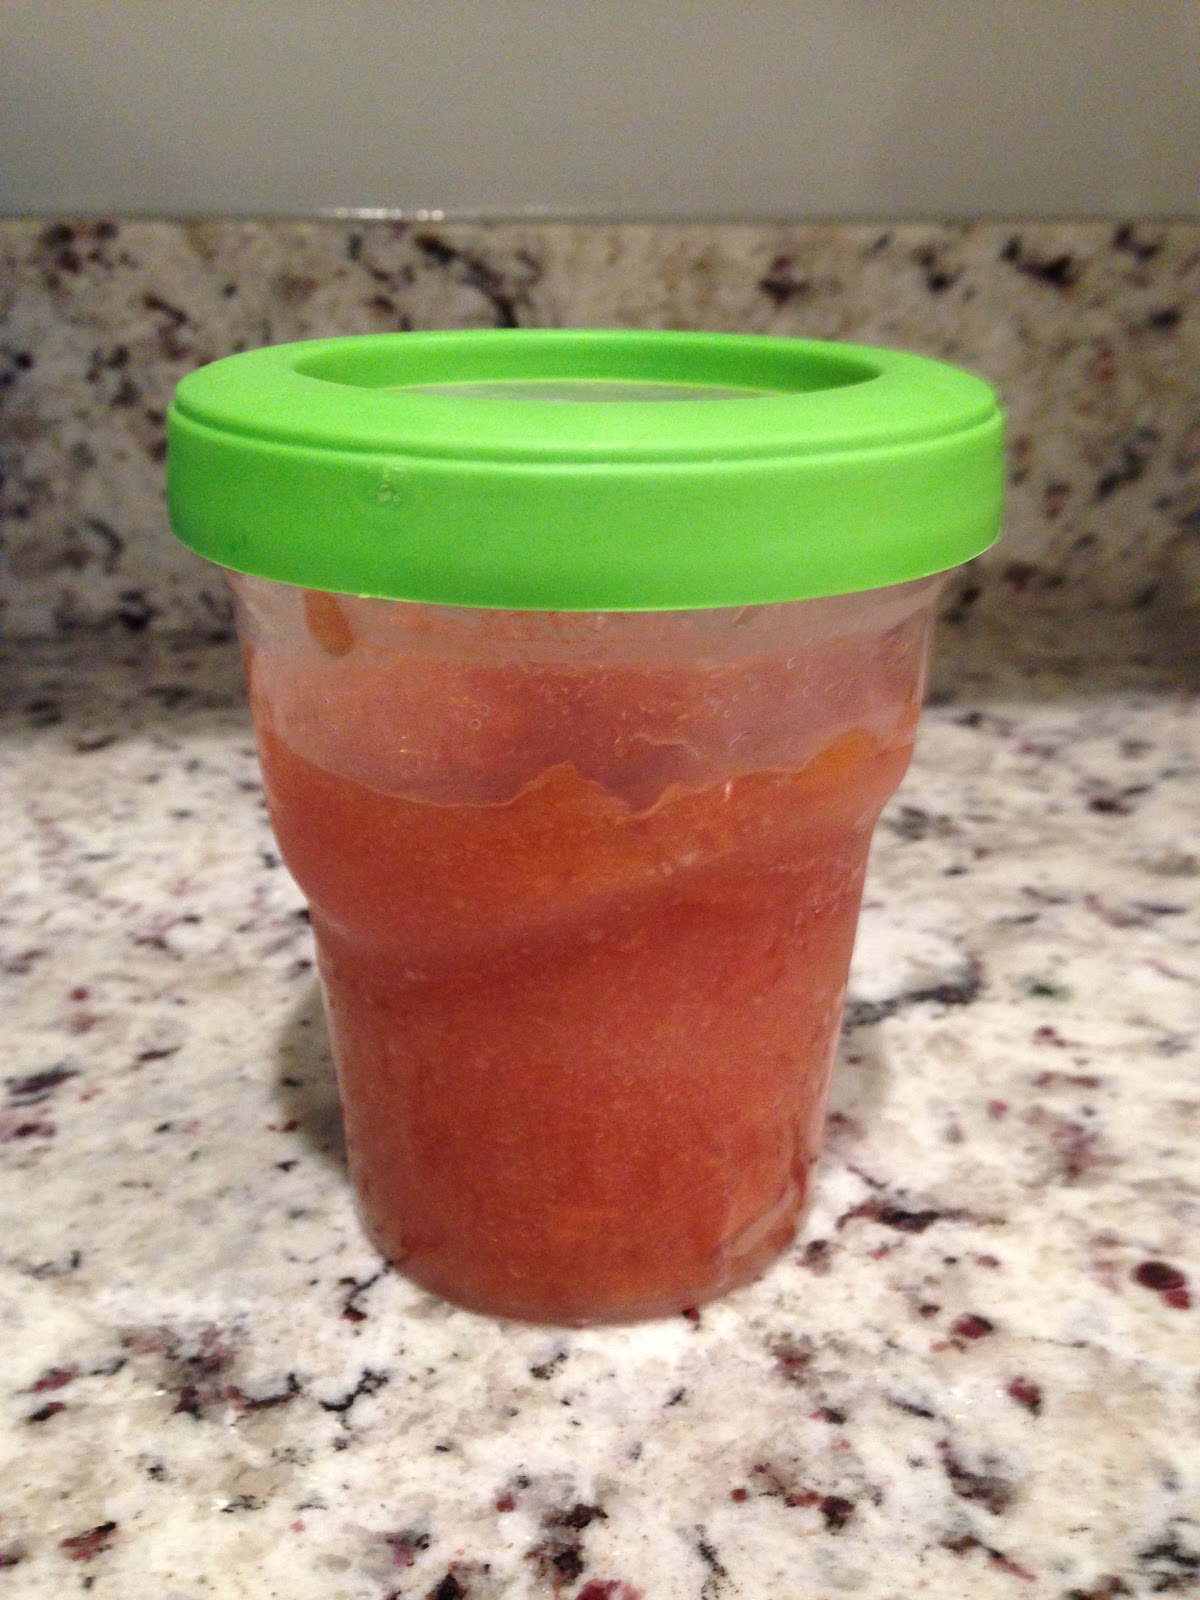
Ladle the jam into freezer safe jars or containers (we used these, Ball Jar 16-Ounce Plastic Freezer Jar ). Let the jam cool and set over night, then freeze.

This first batch turned out great and our kids really like it as well. So we quickly prepared the rest of the peaches as well, but did them in larger batches. If you want more flexibility in batch size stores now offer measureable rather than boxed pectin (Ball Real Fruit, Low or No-Sugar-Needed Pectin 4.7 oz. (Pack of 1)) .
.
After listening to the book The Case Against Sugar
Since we've made freezer jam in the past we thought we'd try the same with sugar-free jam. We bought a box of peaches, since they were on sale at our local Sprout's Market and about 7 boxes of pectin (Sure Jell No Sugar Pectin, 1.75 oz (Pack of 2)

Now a note here about the jam, it isn't actually sugar-free since there is sugar in the peaches, so to be accurate I should call it no-sugar-added jam, but that is a mouth full. Also cooked jam is typically bottled, but we didn't want to deal with that and thought our family would use it up fast enough that we could get away with freezing it.
In any case the pectin includes recipes for multiple types of jams with different fruits and different amounts of sugar (full to low), both of which don't need to be cooked and the no-sugar-added recipe, but the no sugar added recipe has to be cooked. (I don't actually know why that's just what the recipe said). So we decided to use that, but the recipe called for an artificial sweetner that we didn't have or use, instead we wanted to use stevia.
So back to the internet to see if anyone had a jam recipe that used stevia, and we didn't find anything, so we decided to experiment a bit ourselves. A full-sugar peach jam recipe calls for approximately equal parts fruit to sugar, while the no-sugar-added recipe called for a 1/2 cup of artificial sweetner to every 3 cups of peaches. We were using a blended stevia (something like this Truvia Baking Blend Natural Sweetener 24 OZ(Pack Of 2)
Recipe
So here was our process (adapted from recipe in the pectin box):For every box of pectin your will need:
3 cups pureed peaches, washed (typically peeled but we
left skins on and it was great)
1 1/2 cups stevia baking blend
We started out with a test batch to make sure it would work. We washed and quartered the peaches, then used an immersion blender (like this one KitchenAid KHB1231 2-Speed Hand Blender Empire Red Electric Mixer
Add the peach puree and box of pectin to a pot, mix the pectin in well, and bring the mixture to a rolling boil (it should keep boiling hard even when you stir; also be careful because this hurts when it splashes on you). Let it boil while you stir for one minute. After one minute remove the pot from heat and mix in the stevia. We found that it didn't mix in as well as sugar and we had to whisk it pretty good to mix it in (a non-baking blend may work better and would require less stevia, let us know if you try this).
Ladle the jam into freezer safe jars or containers (we used these, Ball Jar 16-Ounce Plastic Freezer Jar
This first batch turned out great and our kids really like it as well. So we quickly prepared the rest of the peaches as well, but did them in larger batches. If you want more flexibility in batch size stores now offer measureable rather than boxed pectin (Ball Real Fruit, Low or No-Sugar-Needed Pectin 4.7 oz. (Pack of 1))
Comments
Post a Comment